2025年8月8日,继续整理本篇笔记。之前整理的像坨狗屎,命令不系统梳理,到用的时候翻找是真的难受。
1、调试编写代码,可以在无卡模式状态下进行调试。
1毛钱1小时穷学生也能负担得起。
2025年8月8日,继续整理本篇笔记。之前整理的像坨狗屎,命令不系统梳理,到用的时候翻找是真的难受。
1、调试编写代码,可以在无卡模式状态下进行调试。
1毛钱1小时穷学生也能负担得起。
2、autodl设置学术加速
# 设置学术加速
source /etc/network_turbo
# 取消代理
unset http_proxy && unset https_proxy
notebook:
import subprocess
import os

result = subprocess.run('bash -c "source /etc/network_turbo && env | grep proxy"', shell=True, capture_output=True, text=True)
output = result.stdout
for line in output.splitlines():
    if '=' in line:
        var, value = line.split('=', 1)
        os.environ[var] = value
没必要加速。直接用代理解决,自行Google关键字“autodl代理”、“autodl科学上网”。
每次重载环境变量后都需要重新在终端设置代理:
# 重新加载 .bashrc 配置文件,使其中的设置生效
source ~/.bashrc

# 设置 HTTP 代理,指向本地 7890 端口
export http_proxy="http://localhost:7890"

# 设置 HTTPS 代理,指向本地 7890 端口
export https_proxy="http://localhost:7890"
这部分看看就好,没必要移除。国产的也没毒。 ![]()
3、移除国产的一切内容。
# 编辑pip配置文件
vim /etc/pip.conf

[global]
index-url = https://pypi.org/simple
# 编辑conda配置文件
vim ~/.condarc

channels:
  - defaults
show_channel_urls: true
proxy_servers:
  http: http://127.0.0.1:7890
  https: http://127.0.0.1:7890
# 编辑apt软件源
vim /etc/apt/sources.list
# 查看系统发行版
cat /etc/lsb-release

# 将软件源更换为对应发行版的内容,下面为ubuntu 22.04的软件源
deb http://archive.ubuntu.com/ubuntu/ jammy main restricted universe multiverse
# deb-src http://archive.ubuntu.com/ubuntu/ jammy main restricted universe multiverse

deb http://archive.ubuntu.com/ubuntu/ jammy-updates main restricted universe multiverse
# deb-src http://archive.ubuntu.com/ubuntu/ jammy-updates main restricted universe multiverse

deb http://archive.ubuntu.com/ubuntu/ jammy-security main restricted universe multiverse
# deb-src http://archive.ubuntu.com/ubuntu/ jammy-security main restricted universe multiverse

deb http://archive.ubuntu.com/ubuntu/ jammy-backports main restricted universe multiverse
# deb-src http://archive.ubuntu.com/ubuntu/ jammy-backports main restricted universe multiverse

deb http://archive.canonical.com/ubuntu/ jammy partner
# deb-src http://archive.canonical.com/ubuntu/ jammy partner
# 编辑apt代理
vim /etc/apt/apt.conf.d/proxy.conf

Acquire::http::Proxy "http://127.0.0.1:7890/";
Acquire::https::Proxy "http://127.0.0.1:7890/";
conda目前项目支持力度较好,但uv用于python包管理正在迅速走红。
conda常用命令
# 初始化 conda,配置 shell 以使用 conda
conda init

# 创建一个新的 conda 虚拟环境,名为 your_venv_name
conda create -n your_venv_name

# 激活名为 your_venv_name 的虚拟环境
conda activate your_venv_name
4、使用conda创建了新的虚拟环境,给新的虚拟环境安上内核,方便notebook调用。
# 在当前conda环境中安装ipykernel包
conda install ipykernel

# 将当前环境安装为Jupyter的kernel,使其可在Jupyter中使用
# 请将'your_env_name'替换为你的实际环境名称
python -m ipykernel install --user --name=your_env_name
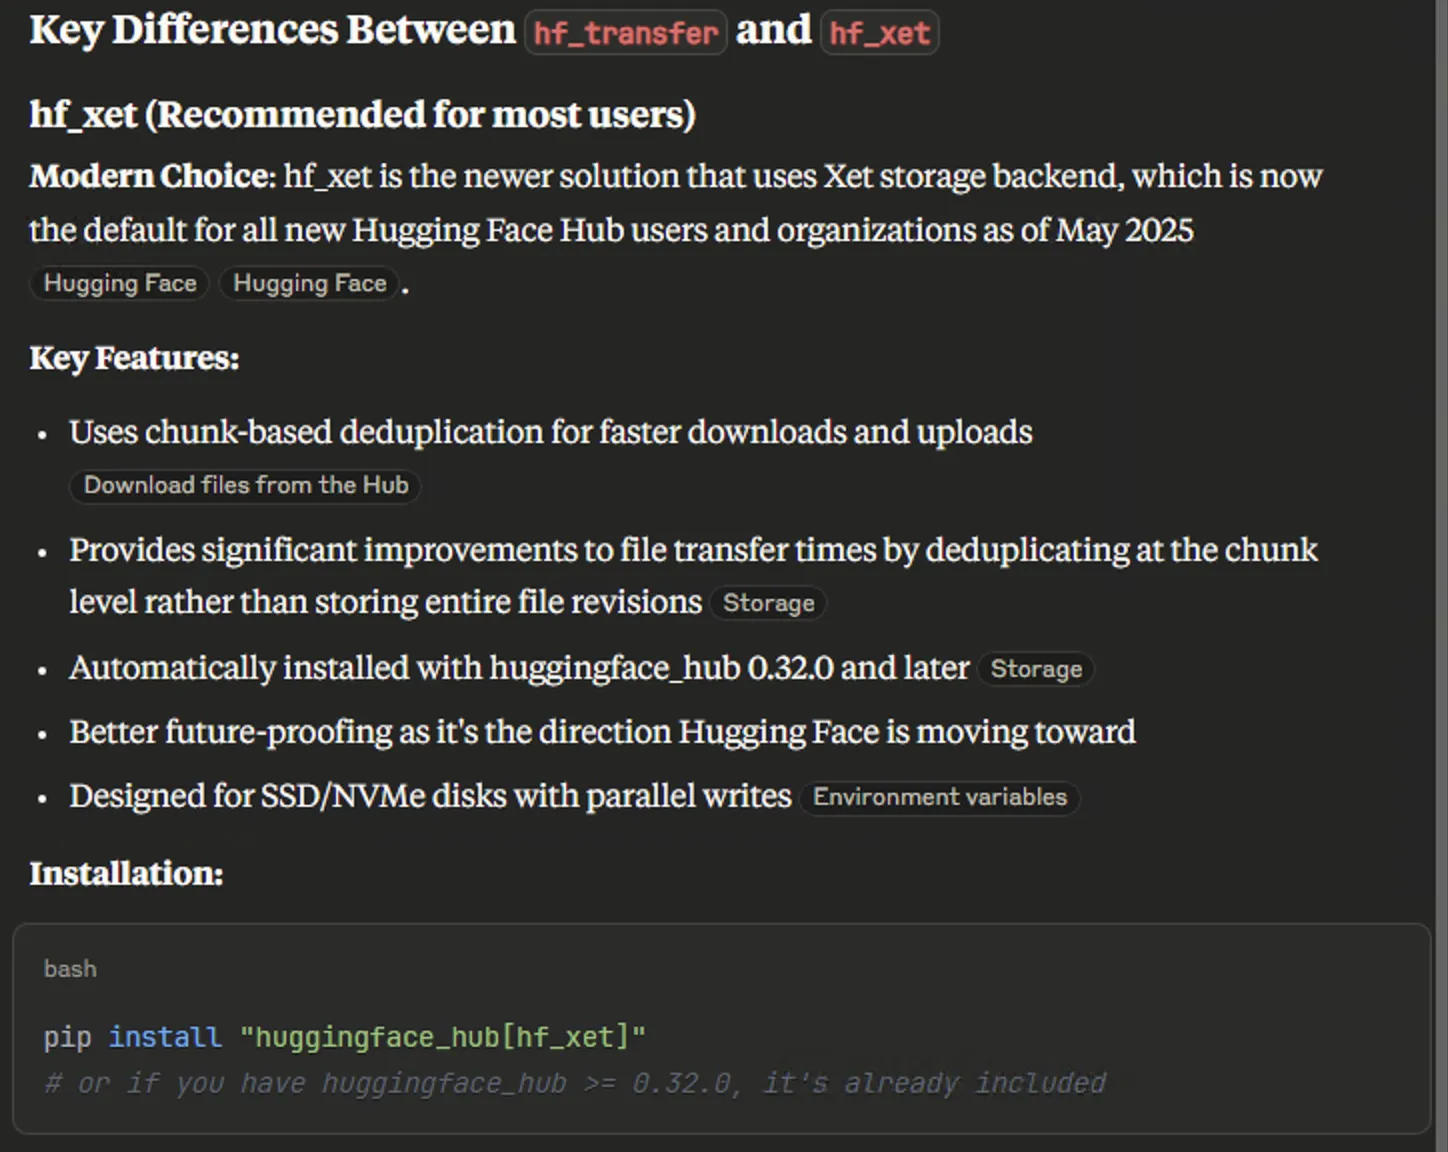
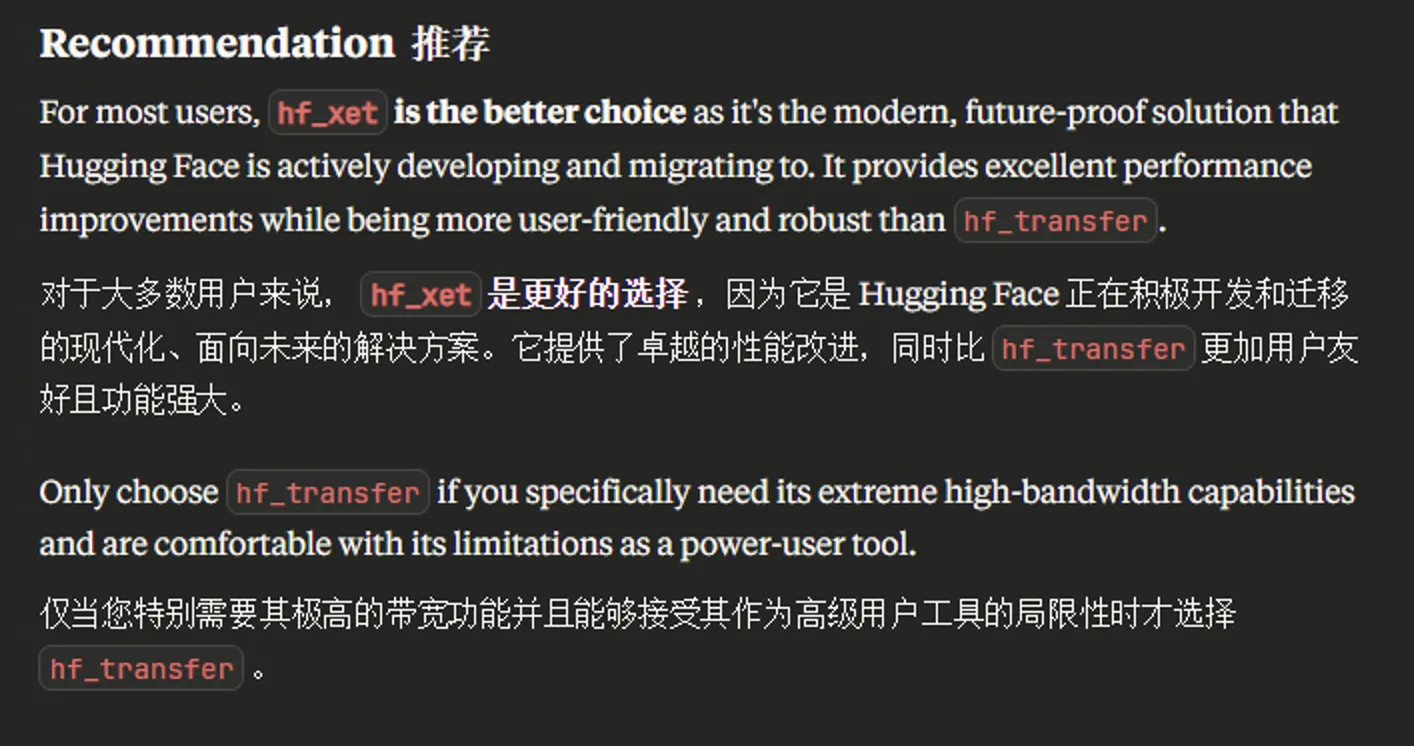
5、修改Huggingface模型的默认路径
# via: https://huggingface.co/docs/huggingface_hub/package_reference/environment_variables#hfhubenablehftransfer
# 安装hf-transfer
# pip install huggingface_hub[hf_transfer]

# 安装huggingface_hub
pip install huggingface_hub
# 打开 .bashrc 文件进行编辑
vim ~/.bashrc

# 在 .bashrc 文件中添加以下环境变量:

# 设置 Hugging Face 的缓存目录
export HF_HOME=/root/autodl-tmp/huggingface

# 启用 Hugging Face 的新文件传输系统
# export HF_HUB_ENABLE_HF_TRANSFER=1

# 重新加载 .bashrc 文件,使新的环境变量生效
source ~/.bashrc

# 使用 Hugging Face CLI 下载 Meta-Llama-3-8B-Instruct 模型
# --resume-download: 如果下载中断,从断点继续下载
# --local-dir: 指定模型文件的本地保存目录
# --local-dir-use-symlinks False: 不使用符号链接,直接下载文件
# huggingface-cli download --resume-download meta-llama/Meta-Llama-3-8B-Instruct --local-dir /root/autodl-tmp/huggingface/models/meta-llama/Meta-Llama-3-8B-Instruct --local-dir-use-symlinks False
# resume-download参数和--local-dir-use-symlinks False参数均已弃用,下载功能在可能的情况下默认就会恢复下载,不再需要使用符号链接,模型下载位置自动会变更为HF_HOME环境变量设置的路径。
# huggingface-cli download meta-llama/Meta-Llama-3-8B-Instruct --local-dir /root/autodl-tmp/huggingface/models/meta-llama/Meta-Llama-3-8B-Instruct

# llama开源模型已经死了,现在流行的都是qwen、gpt-oss等。
# 而且huggingface cli也已经更名【2025年8月】
# via: https://huggingface.co/blog/hf-cli
hf download Qwen/Qwen2.5-7B-Instruct
huggingface下载相关的王牌教程:https://padeoe.com/huggingface-large-models-downloader/
【计算机相关的知识过时的很快,该教程也不一定准,自行判断】
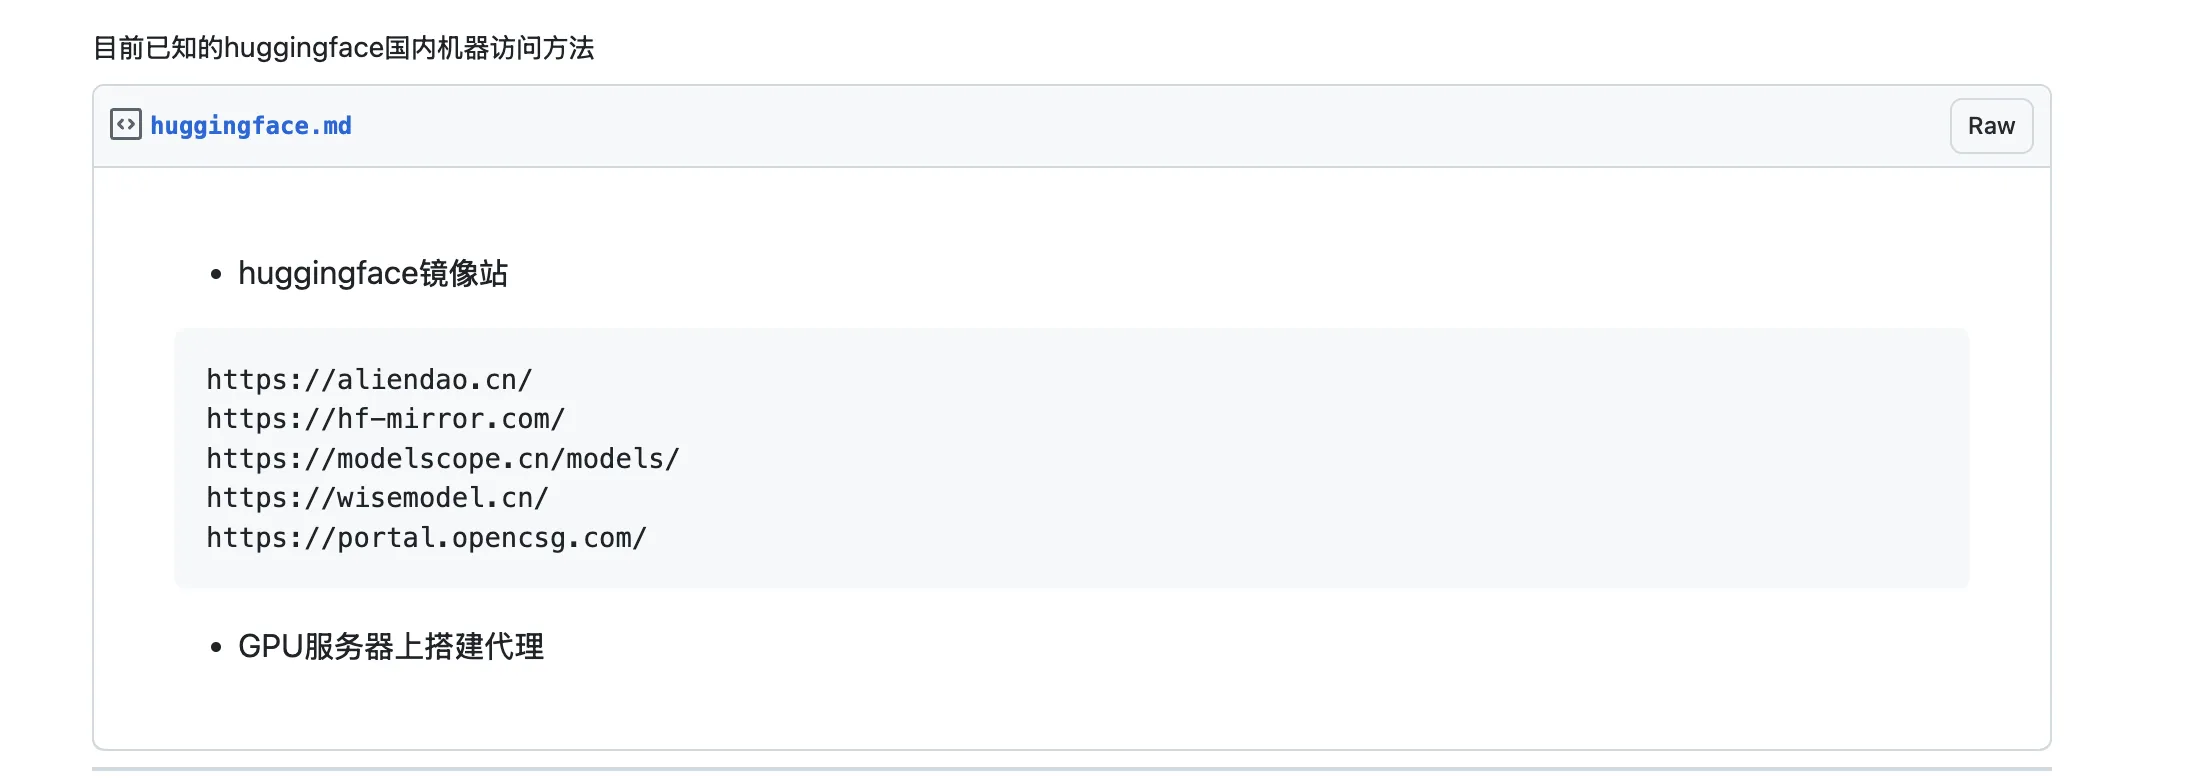
注意点:在autodl上下载模型,还是优先考虑modlescope的命令行下载吧,挂代理下载会下载到你怀疑人生。
modelscope下载模型【不要再继续设置了代理的终端下载,可取消代理下载】:
via: 模型的下载
vim ~/.bashrc
export MODELSCOPE_CACHE='/root/autodl-tmp/modelscope'
source ~/.bashrc

# 安装 modelscope 包,用于下载和管理模型
pip install modelscope

# 从 ModelScope 下载 Qwen3-30B-A3B-Instruct-2507 模型到指定本地目录
# modelscope download --model 'Qwen/Qwen2.5-7B-Instruct' --local_dir '/root/autodl-tmp/modelscope/models/Qwen/Qwen2.5-7B-Instruct'
modelscope download --model 'Qwen/Qwen2.5-7B-Instruct'
autodl的窗口最好pin起来,以防自己误关。
autodl代理我一般都是用claude辅助写的一键脚本搭配上代理订阅链接,在上面搭建clash meta。
当然也有一些类似的开源项目,如:
国内机器下载大模型还是找modelscope这类吧,挂代理下载,临近完成速度极其缓慢。
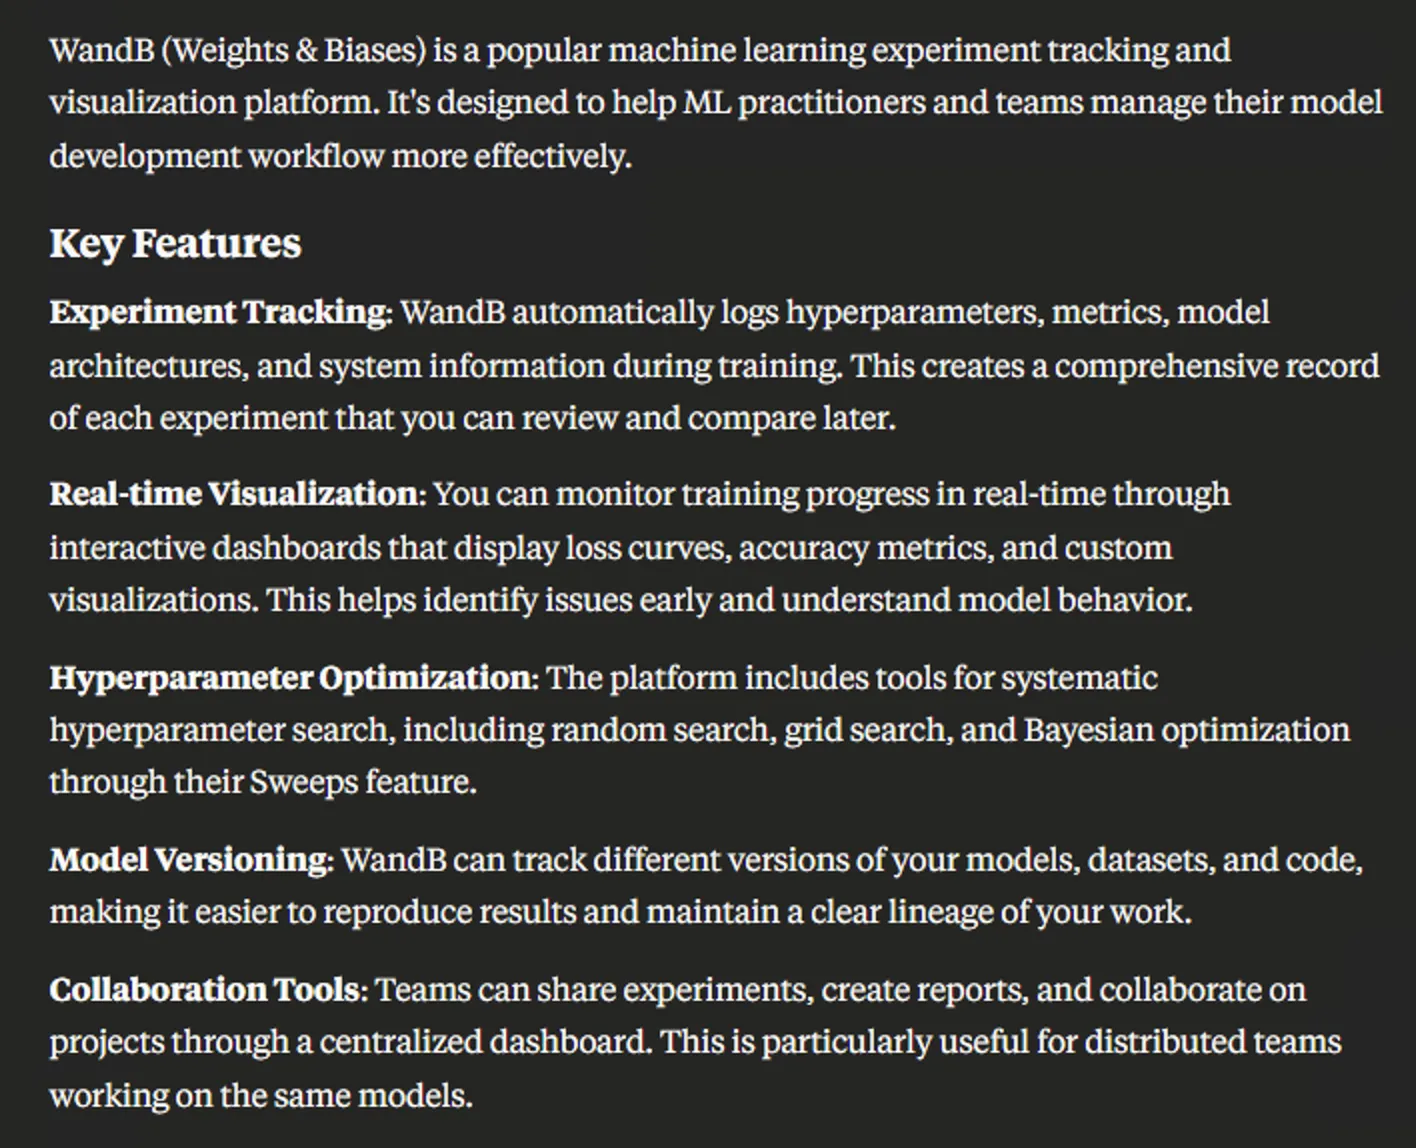
wandb中转站:
wandb国产替代品: